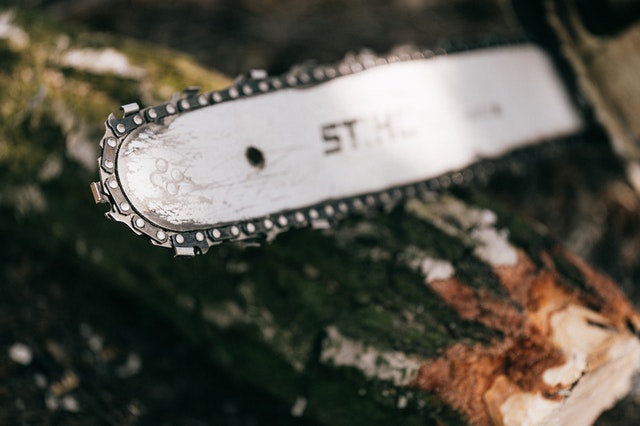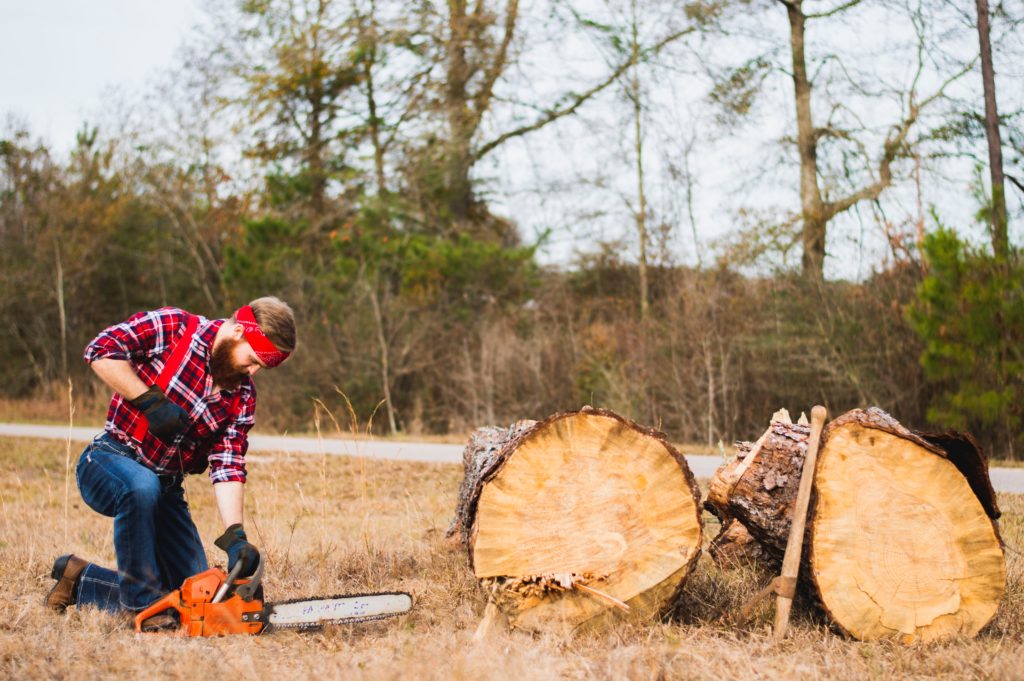
Felling a tree, also known as cutting a tree, needs a high degree of skill and careful planning and can be dangerous if done unprofessionally, especially for large trees. However, you can tackle a manageable tree size on your own as long as you observe all safety precautions, use the right techniques, and have the right chainsaw bar for the job.
The Different Ways to Cut Down a Tree
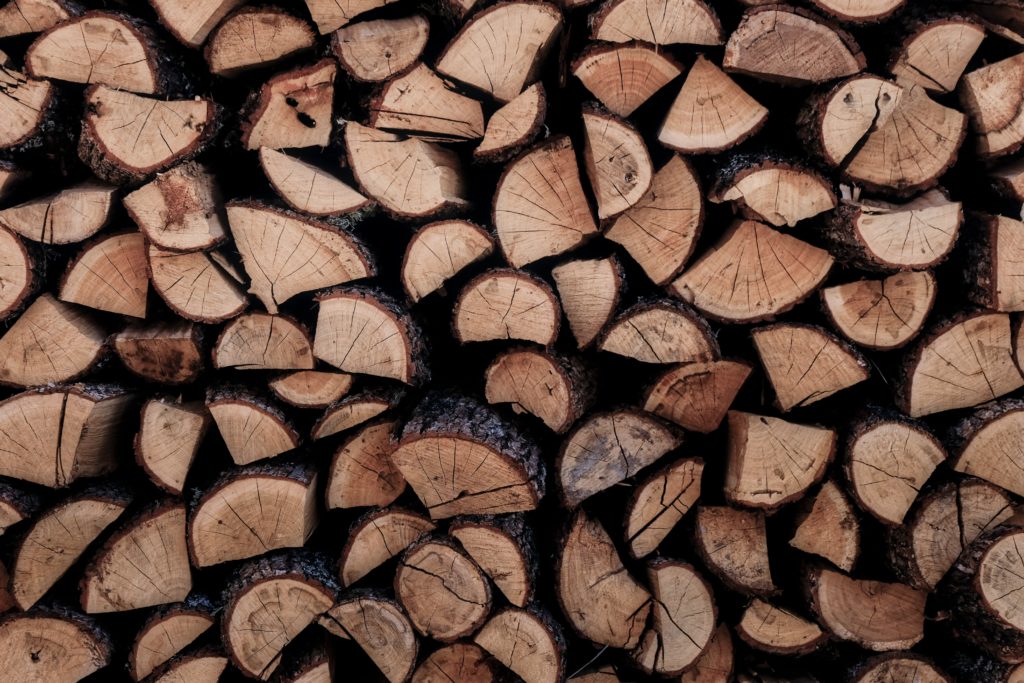
You can fell a tree in different ways, and they include using a sachet, a felling ax, a hand saw, and cutting using a chainsaw, which is the most popular method used to cut down a tree. Chainsaws are more popular because they use less time and effort, but they are potentially more dangerous and expensive.
Felling a tree needs proper know-how of the safety precautions to observe and the appropriate technique to use. This article has listed several steps on how to fell a tree, and you can follow along.
1. Preparation
As with any activity, you have to make sure you are prepared fully. You can prepare by familiarizing yourself with the chainsaw and ensure you can easily use it. Also, in the preparation, make sure you call someone to be present when you plan to fell a tree with a chainsaw but at a safe distance, of at least one and a half times the height of the tree.
The safety gear products for tree felling include work gloves, earmuffs, and face screen to protect your ears and eyes, safety glasses to keep the dust out of your eyes, chainsaw boots, logger helmet, felling wedges, and first aid kits.
2. Inspect the Tree
Make sure you walk around the tree and assess its condition before deciding to start cutting down a tree. Assessing will involve scanning for loose bark, dead branches, debris, and disease like the Dutch Elm Disease. Also, evaluate the base of the tree to check for any root instability or further uprooted shrubs. Don't cut any branches above your shoulder's height as it will require you to hold the chainsaw at arm's length, and you can quickly lose control in this position.
3. Clear the Tree Limbs and Buttress Roots
It is essential to clear any hanging tree limbs that could get in your way because they can cause injuries, so get rid of all limbs up to the height of your head before you start the tree felling process. While climbing, do not stand directly behind the saw or cut above the shoulder height. Instead, use the tree trunk as a barrier between the chainsaw user and the saw itself.
4. Choose the Felling Direction
Once you have decided which tree you are cutting, you should determine the direction you want the felled tree to fall. This should be the best direction for the tree to fall. Check your surroundings to avoid unnecessary damage by preventing the falling tree from falling onto other rocks or trees.
Observe which way it is leaning and so which way it will naturally fall. It's much easier if the tree is naturally leaning because it's safer for the tree to fall in that direction so long as the fall path is clear. Be keen on the top of the tree as if the tree is heavy on one side, which will influence the tree to fall in the direction of the wind.
5. Plan the Escape Route
You should plan two escape routes for after the tree falls, one being on the opposite side of the falling tree while the other should be 45 degrees from the sides and the back on either side of your cutting position. Clear any obstacles from both paths and set a place you can set the saw in case of any emergency because you shouldn't run while you are holding the saw.
The Felling Process
1. Sound Out the Tree
This is important as it helps you determine if the tree is dead or live wood, and you should do this by walking around the tree do and knocking against your tree using an ax. Hollow sounds indicate a dead tree, while solid sounds indicate live wood. It is easier to fell a dead tree, so feel the tree's sound at different heights.
2. Horizontal Cut
This is the first cut, which should always be horizontal, and it's the first of the required two cuts to make a notch, also known as a face cut. The notch cut allows the tree to fall properly, and the fall side should be on the heavy side. To cut the notch, start with a top cut and while you are moving at a 45-degree angle downwards and cut about a third into the tree trunk.
The horizontal cut should be close to the first cut and not higher than your hip height. The tree will fall eventually perpendicularly to the cut.
3. The Wedge Cut
The wedge cut can be made either from the top or the bottom of the horizontal cut, but both cuts should meet accurately to make a good hinge. The best idea is to cut 3 inches above the original cut's acute angle to avoid any kickback possibility. However, wedges are unnecessary if the tree's diameter is more than 18 inches.
So in the event the wedges are not necessary, begin the felling cut after the notch cut.
4. The Back Cut
The back cut should be at least 1.5 inches above your horizontal cut, and it is made on the opposite side of the tree, slightly above the hinge point. The back is responsible for releasing stress on the tree's back and allowing the tree to fall in the felling zone.
5. Escape Route
Once you are done with the back cut, your tree starts toppling, and this means you should turn off your chainsaw and move away to your chosen escape route. You should swiftly walk away and do not stand at the base of the tree to watch the tree fall and admire your work, as this can cause injuries.
How can a Chainsaw User Fell Large Trees
You should avoid felling large trees as it is difficult, especially if the tree's diameter is bigger than your saw blade. Consult professionals to fell the tree, mainly if the tree area you want to cut is close to any power lines or public amenities. Otherwise, you can consult your family handyman to help you safely make your intended felling cut.